- Home›
- Healthy Living›
- 8 Effective Yoga Poses To Get Relief From Sciatica
8 Effective Yoga Poses To Get Relief From Sciatica
By: Priyanka Maheshwari Mon, 18 Sep 2023 12:29:07
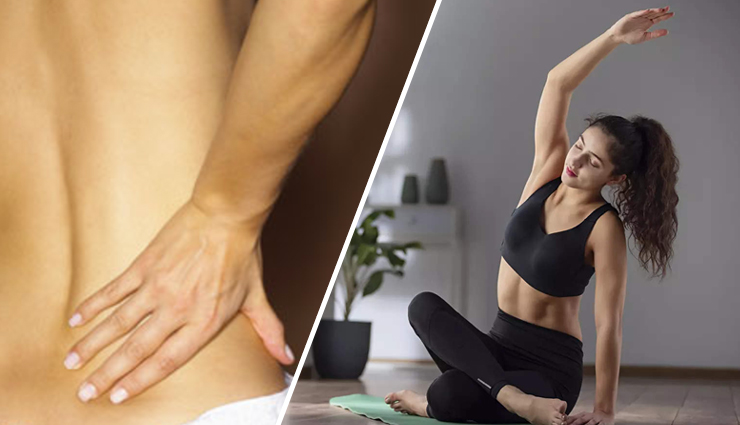
Sciatica is a common and often painful medical condition that affects the sciatic nerve, the longest nerve in the human body. It typically presents as a set of symptoms rather than a standalone diagnosis. The sciatic nerve runs from the lower back, through the buttocks, and down the back of each leg. When it becomes irritated or compressed, it can lead to a range of uncomfortable and sometimes debilitating symptoms.
The most characteristic symptom of sciatica is sharp, shooting pain that radiates along the path of the sciatic nerve, often traveling from the lower back or buttocks down to the leg or foot. However, sciatica can manifest differently in individuals, and its severity can vary.
Sciatica usually results from underlying conditions such as herniated discs, spinal stenosis (narrowing of the spinal canal), or bone spurs, which can put pressure on the nerve. While it primarily affects people between the ages of 30 and 50, it can occur at any age and for various reasons.
Sciatica originates from the spine, extending deep into the buttocks and traveling down the rear of each leg, and it holds the distinction of being the body's longest nerve.
When this nerve experiences compression or reduced blood flow in its vicinity, it generates a sharp, shooting pain that can make sitting and standing uncomfortable tasks. The discomfort intensifies when an individual is seated.
Sciatica can also develop due to spinal conditions such as spondylitis, spinal stenosis, disc damage or rupture, lower back injuries, or degenerative disc disease. All of these conditions exert pressure on the sciatic nerve, resulting in the onset of pain.

# Dandasana
- Start by sitting on your yoga mat with your legs extended straight out in front of you. Keep your feet together and your toes pointing upward.
- Place your hands on the mat beside your hips, with your fingers pointing forward and your palms flat on the mat. Ensure that your fingers are spread wide for better stability.
- Sit up tall, lengthening your spine, and engage your core muscles to support your lower back. Imagine that your spine is like a staff, straight and strong.
- Flex your feet by pulling your toes back towards your body, creating a firm stretch in your calves and the back of your legs.
- Press your thighs firmly into the mat while keeping your knees straight. This action helps engage your leg muscles.
- Roll your shoulders back and down, opening your chest. Your chest should be broad and open, but your shoulder blades should still be drawn gently toward each other.
- Keep your neck in line with your spine, and your chin parallel to the floor. Relax your facial muscles, and direct your gaze straight ahead.
- Breathe deeply and evenly through your nose, filling your lungs with each inhale and exhaling fully. Focus on your breath and maintaining a steady, relaxed posture.
- Hold Dandasana for 30 seconds to 1 minute, or as long as it's comfortable. If you feel any discomfort or tension, adjust your alignment or use props (like a cushion under your hips) to support your practice.
- To release the pose, exhale and gently lift your hips off the mat, allowing your legs to return to a relaxed position. You can shake your legs out if needed.
# Rajakapotasana
- Begin in a tabletop position on your yoga mat with your hands under your shoulders and your knees under your hips.
- Step your right knee forward between your hands, positioning it slightly to the right of your right wrist. The right shin should be at a diagonal angle, and the thigh should be parallel to the mat.
- Extend your left leg straight back behind you, with the top of your left foot resting on the mat.
- Check the alignment of your right knee; it should be in line with your right hip. If necessary, adjust the position of your right foot forward or backward to achieve proper alignment.
- Square your hips by drawing your right hip back and your left hip forward. This action ensures that your hips are level and facing forward.
- Inhale deeply, lengthen your spine, and open your chest.
- As you exhale, slowly walk your hands forward, lowering your upper body toward the mat. Keep your hips level and avoid sinking into your right hip. You can use yoga blocks or a cushion under your right hip for support if needed.
- Continue walking your hands forward, and you can eventually lower your torso all the way down, resting on your forearms and forehead on the mat. Ensure that your neck and head are relaxed.
- If you have the flexibility, you can reach your arms straight out in front of you and rest your forehead on the mat. Alternatively, you can clasp your hands behind your back.
- Breathe deeply and relax into the pose, feeling a stretch in the front of your right thigh and hip.
- Hold Rajakapotasana for 30 seconds to 1 minute, or as long as is comfortable while maintaining steady breath.
- To release the pose, press through your palms, slowly walk your hands back, and lift your chest. Return to the tabletop position.
- Repeat the pose on the opposite side by stepping your left knee forward and extending your right leg back.
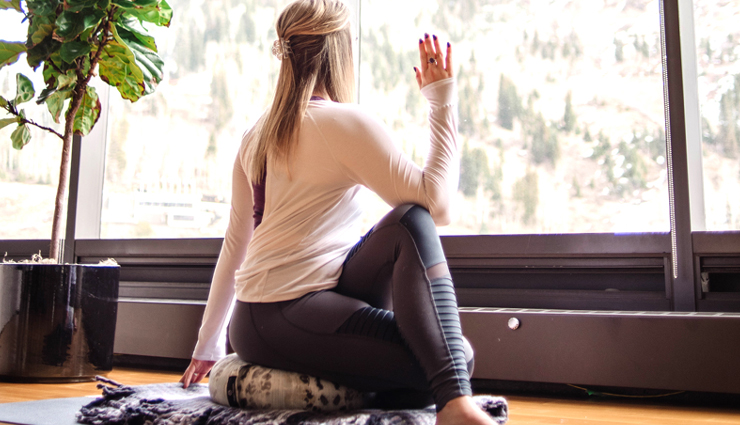
# Ardha Matsyendrasana
- Begin by sitting on your yoga mat with your legs extended straight out in front of you.
- Bend your knees and place your feet flat on the mat, keeping your feet hip-width apart.
- Slide your left foot under your right leg and place it alongside your right hip. Your left knee should be pointing forward.
- Cross your right foot over your left thigh, placing it on the floor just outside your left knee. Your right knee should be pointing up toward the ceiling.
- Sit up tall and lengthen your spine, ensuring that both sitting bones are grounded on the mat.
- Inhale and raise your right arm straight up toward the ceiling.
- As you exhale, twist your torso to the right, bringing your right elbow to the outside of your left knee. Use your arm to gently press against your knee to deepen the twist.
- Place your left hand on the mat behind your back, fingers pointing away from your body, to support your spine and help you maintain balance.
- Continue to twist from your waist, chest, and shoulders, looking over your right shoulder. Keep your neck relaxed, and don't strain your neck to look further than it comfortably allows.
- Breathe deeply and hold the twist for 30 seconds to 1 minute or as long as is comfortable. With each inhale, lengthen your spine, and with each exhale, deepen the twist slightly if you can.
- To release the pose, slowly unwind from the twist, coming back to the center.
- Uncross your legs and extend them straight out in front of you.
- Repeat the pose on the other side by bringing your right foot under your left leg and crossing your left foot over your right thigh.
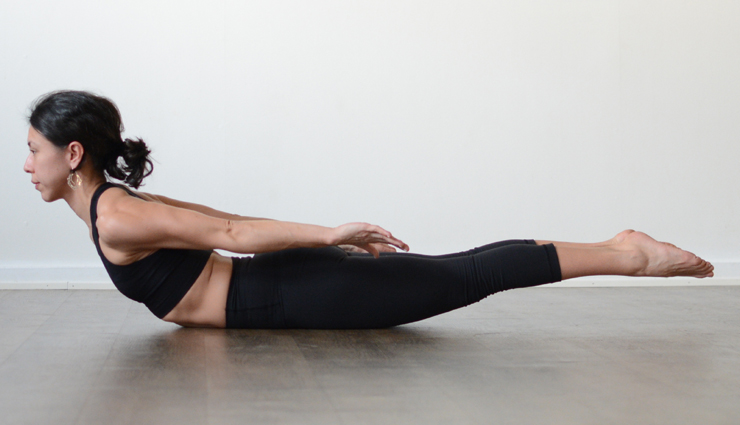
# Salabhasana
- Start by lying flat on your belly with your chin on the mat, your legs extended, and your arms resting alongside your body, palms facing up.
- Ensure that your feet are together, and your big toes are touching.
- Place your forehead on the mat, keeping your neck in a neutral position.
- Rest your arms alongside your body with your palms facing up.
- Engage your leg muscles by pressing the tops of your feet into the mat. This action will help protect your lower back.
- Inhale deeply, and as you exhale, engage your core muscles and begin to lift your head, chest, and legs off the mat simultaneously.
- Keep your gaze down toward the mat to avoid straining your neck. Focus on lengthening your spine as you lift.
- Reach your arms back toward your feet, and if possible, clasp your hands together behind your back. This action will further lift your chest and legs.
- Lift your legs as high as you can, aiming to create a curve in your spine. Your chest and thighs should be off the mat, and your weight should be supported by your lower abdomen.
- Breathe steadily and hold Salabhasana for 15 to 30 seconds, or as long as it's comfortable.
- To release the pose, exhale and gently lower your chest, head, and legs back down to the mat.
- Rest with your arms alongside your body, palms facing up, and your head turned to one side to relax for a moment.
# Setu Bandhasana
- Begin by lying flat on your back on a yoga mat. Bend your knees and place your feet flat on the mat, hip-width apart. Your feet should be close to your hips, and your heels should be underneath your knees.
- Keep your arms by your sides with your palms facing down. Your fingertips should be lightly touching your heels.
- Take a moment to align your feet so they are parallel to each other, and ensure that your toes are pointing forward.
- Inhale deeply, and as you exhale, engage your core muscles and press your feet firmly into the mat.
- On your next inhale, begin to lift your hips off the mat by pressing through your feet. Continue to lift your hips, lower back, and mid-back off the mat.
- As you lift your torso, try to roll your shoulders back and under your body. This action will help you open your chest and create space in the front of your body.
- Keep your weight evenly distributed across your feet, shoulders, and upper arms. Your thighs should be roughly parallel to the mat.
- Continue to breathe deeply and hold the pose for 30 seconds to 1 minute, or as long as is comfortable. Focus on lifting your hips higher with each inhale and maintaining the lift throughout the pose.
- To release the pose, exhale and gently lower your spine back down to the mat, starting from the upper back, mid-back, and then the lower back.
- Rest for a moment with your knees bent and feet on the floor to allow your spine to settle back into its natural curve.
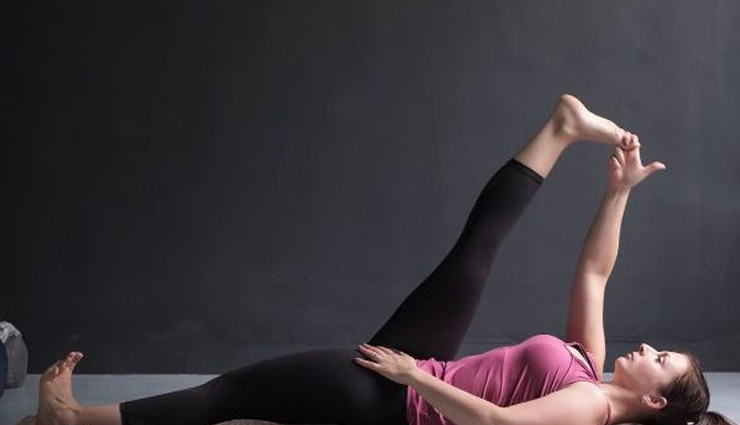
# Supta Padangusthasana
- Start by lying flat on your back on a yoga mat with your legs extended straight and your arms resting alongside your body, palms facing down.
- Take a few moments to relax and settle into the position, focusing on your breath.
- Bend your right knee and hug it toward your chest.
- Loop a yoga strap, belt, or towel around the arch of your right foot. Hold the strap with both hands, keeping your arms extended straight.
- Straighten your right leg as much as possible while holding the strap. Keep your left leg extended flat on the mat, engaging the quadriceps (thigh muscles) to keep the leg active.
- Flex your right foot, pointing the toes toward the ceiling. This will deepen the stretch in your hamstring.
- Keep your left heel and the back of your left thigh pressed firmly into the mat. Your left leg should remain active.
- As you exhale, gently begin to draw your right leg toward your chest, using the strap for support. Keep your right leg straight and your toes pointed upward.
- Only go as far as you can comfortably while keeping your left leg and lower back on the mat. The goal is to feel a stretch in the back of your right leg without straining.
- Hold the pose for 30 seconds to 1 minute, or as long as is comfortable. Breathe deeply and relax into the stretch.
- To release the pose, slowly lower your right leg back to the mat, keeping it straight. Remove the strap from your foot.
- Repeat the pose on the other side by bending your left knee, hugging it to your chest, and using the strap to stretch your left leg.
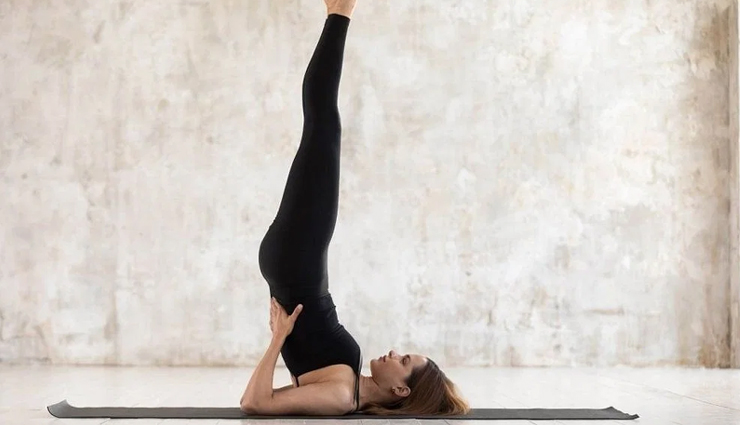
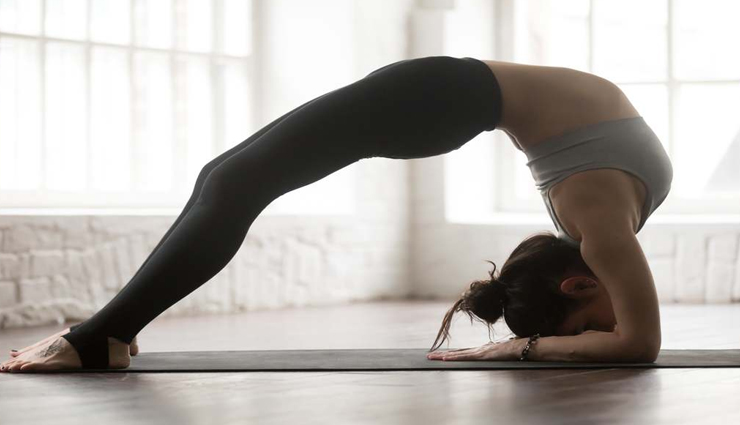
# Salamba Sarvangasana
- Start by lying flat on your back on a yoga mat with your arms alongside your body, palms facing down.
- Bend your knees and draw them toward your chest, lifting your feet off the floor.
- Inhale deeply, and as you exhale, press your hands into the mat to lift your legs and hips off the ground.
- Support your lower back with your hands, placing your palms on your lower back just above your hips. Your elbows should be shoulder-width apart on the mat.
- Use your hands to support your lower back as you lift your legs, pelvis, and lower back higher off the mat. Your body should form an inverted "L" shape.
- Continue to lift your legs and torso until your body is in a straight line from your shoulders to your feet. Your weight should be on your shoulders and upper arms, not on your neck or head.
- Engage your core muscles to maintain stability in the pose.
- Keep your legs together and pointed upward, with your toes flexed toward your face.
- Breathe deeply and steadily while holding the pose for 30 seconds to 1 minute, or as long as is comfortable. Focus on your breath and maintaining a straight line from your shoulders to your feet.
- To release the pose, exhale and slowly lower your legs back down to the mat, one foot at a time, while continuing to support your lower back with your hands.
- Once your feet are on the mat, release your hands from your lower back and straighten your legs, returning to a supine position.
- Take a few deep breaths and relax on your back for a moment before moving on to the next pose.

# Bhujangasana
- Start by lying flat on your stomach on a yoga mat with your legs extended straight behind you. Your toes should be pointing away from your body, and your feet should be hip-width apart.
- Place your palms on the mat, slightly below your shoulders, and spread your fingers wide. Your elbows should be close to your body, pointing backward.
- As you inhale, press your palms into the mat and slowly begin to lift your head, chest, and upper abdomen off the mat. Keep your lower abdomen, pelvis, and legs firmly grounded.
- Continue to lift your upper body, using the strength of your back muscles, not your arms, to create the arch in your spine.
- Keep your gaze forward or slightly upward, avoiding any strain on your neck. Your neck should remain in a neutral position.
- Ensure that your shoulders are relaxed, away from your ears, and that your elbows are slightly bent.
- Breathe deeply and evenly in the pose, feeling the stretch and expansion in your chest.
- Hold Bhujangasana for 15 to 30 seconds, or as long as is comfortable, while maintaining steady breaths.
- To release the pose, exhale and gently lower your upper body back down to the mat. Rest your forehead on the mat and turn your head to one side to relax for a moment.
- You can repeat Bhujangasana for another round if desired.