- Home›
- Hunger Struck›
- Dhaba Style Tandoor Roti Recipe
Dhaba Style Tandoor Roti Recipe
By: Priyanka Maheshwari Fri, 03 Jul 2026 10:09:46
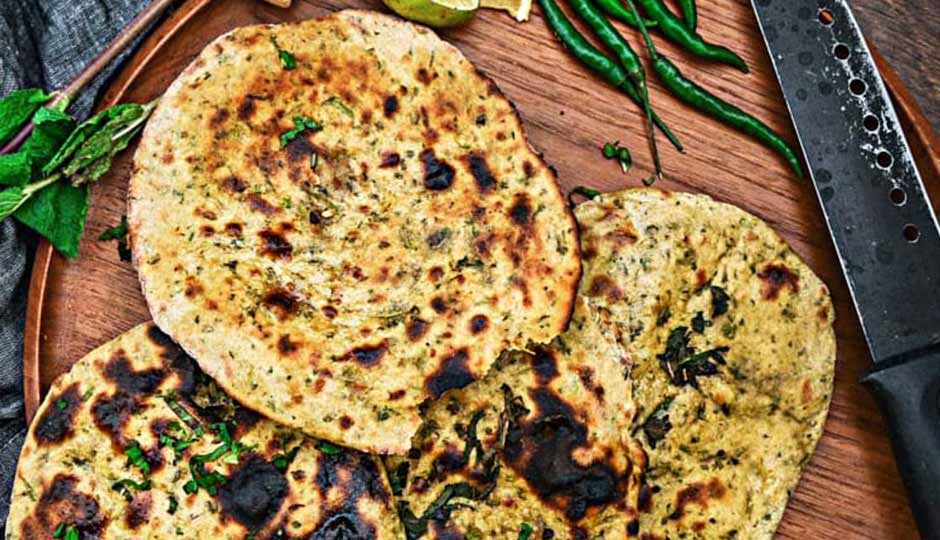
Preparing a perfect Tandoori Roti at home often seems like a difficult task. Many people believe that achieving the authentic smoky flavor and signature char requires a traditional clay tandoor. As a result, home cooks frequently end up with rotis that are hard, dry, or overly chewy instead of soft and flavorful. Fortunately, this simple recipe proves that you can recreate restaurant-style tandoori rotis using basic kitchen equipment available in almost every home.
The key to success lies in using an iron tawa along with a simple water-brushing technique that mimics the cooking process of a traditional tandoor. You do not need professional culinary skills or expensive equipment to achieve excellent results. This vegetarian-friendly recipe allows everyone to enjoy authentic tandoori flavors with minimal effort. By following these easy steps and practical tips, you can master the art of making soft, smoky, and beautifully charred flatbreads right in your own kitchen.
No traditional Indian meal feels truly complete without warm, freshly prepared bread served alongside flavorful curries and dals. However, many home cooks struggle with getting the dough consistency right or maintaining the correct cooking temperature. Using the wrong cookware, especially non-stick pans, often prevents the roti from sticking properly and developing the characteristic charred texture. Understanding why the choice of pan matters can make a significant difference in the final result.
This recipe focuses on achieving the perfect balance of moisture, heat, and technique to create authentic tandoori rotis at home. You will learn how to knead the dough for maximum softness and elasticity, along with a quick yet effective resting process that helps deliver a restaurant-style finish. Get ready to surprise your family and guests with soft, smoky, and delicious homemade tandoori rotis that pair perfectly with any meal.
Ingredients
For the Dough
2 cups whole wheat flour (atta)
¼ cup all-purpose flour (maida) (optional, for softer rotis)
½ teaspoon salt
½ teaspoon sugar
½ teaspoon baking powder
2 tablespoons curd (yogurt)
1 tablespoon oil or ghee
About ¾ cup lukewarm water (adjust as needed)
For Cooking
Water for brushing
Butter or ghee for serving
Method
Step 1: Prepare the Dough
In a large mixing bowl, combine the whole wheat flour, all-purpose flour, salt, sugar, and baking powder.
Add the curd and oil or ghee.
Gradually add lukewarm water while mixing to form a soft dough.
Knead the dough for 8–10 minutes until it becomes smooth, soft, and slightly elastic.
Cover the dough with a damp cloth and let it rest for 30 minutes.
Step 2: Divide and Shape
After resting, knead the dough gently for another minute.
Divide it into 8–10 equal-sized balls.
Dust each ball lightly with flour.
Roll each ball into a round or oval shape about 4–5 inches in diameter and medium thickness.
Step 3: Prepare the Tawa
Heat a heavy iron tawa or cast-iron griddle over medium-high heat.
Ensure the tawa is hot before placing the roti.
Step 4: Cook the Tandoori Roti
Apply a thin layer of water on one side of the rolled roti using your fingers or a pastry brush.
Place the water-coated side directly onto the hot iron tawa. The water helps the roti stick to the surface.
Cook for about 30–40 seconds until bubbles begin to appear.
Carefully invert the tawa over an open flame so that the roti faces the flame.
Rotate the tawa slowly until the roti develops golden-brown spots and slight charring, similar to a traditional tandoor.
Remove the roti using tongs and gently scrape it off the tawa.
Step 5: Finish and Serve
Brush the hot tandoori roti with butter or ghee.
Serve immediately while hot.